
I will cover in this post, a how-to guide in changing the batteries in a Game Boy Advance game cartridge. Because, Game Boy advance cartridges, – and this applies to prior versions of Game Boy cartridges too – and even some of best GBA games have batteries inside that enable them to save the progress of games. Although the later cartridge releases did implement the use of flash memory which made batteries unnecessary. The older and majority of the cartridges basically, have a CR 1616 (or some other type) coin type battery inside them to maintain the save memory.
The process of changing the batteries is a fun experience
for me, I would say. Because, I like to fix and disassemble stuff and gadgets…
It’s a kind of stress release for me when doing these kind of things, so I can
say that I was enjoying myself.
Anyway, let’s get to the necessary tools. Here are the tools
that are needed: A special “Tri-Wing” screwdriver, a pair of scissors, some
electrical tape, and a flat-head screwdriver for removing the batteries.

The most important tool: the “Tri-wing” screwdriver is a
special type of screwdriver for removing the special security screws on the
back of GBA games cartridges and the Game Boy handheld consoles. I went
through a lot trying to find this screwdriver, I asked a lot of hardware shops
and malls but I just couldn’t find one. I finally found one in a specialty
place in downtown Manila where they sell electronic parts and accessories, and
it’s one of the two last remaining ones! I can say that this is a very rare
tool/screwdriver, as it’s not readily available at regular hardware stores and
can only be obtained at specialty stores or online… It’s very hard screwdriver/tool
to find indeed. The Tri-Wing screwdriver is available online 
 | ||||
| A boxed "Tri-wing" screwdriver |

Okay, now let’s go through the steps in changing the
battery.
STEP ONE: Remove the “Y” type screw at the back of the
cartridge with a “Tri-wing” screwdriver.
 |
| A "Y" type screw at the back of the cartridge |
STEP TWO: Slide down the front part of the cartridge, and
then pull it a part. (It has a slide lock mechanism)

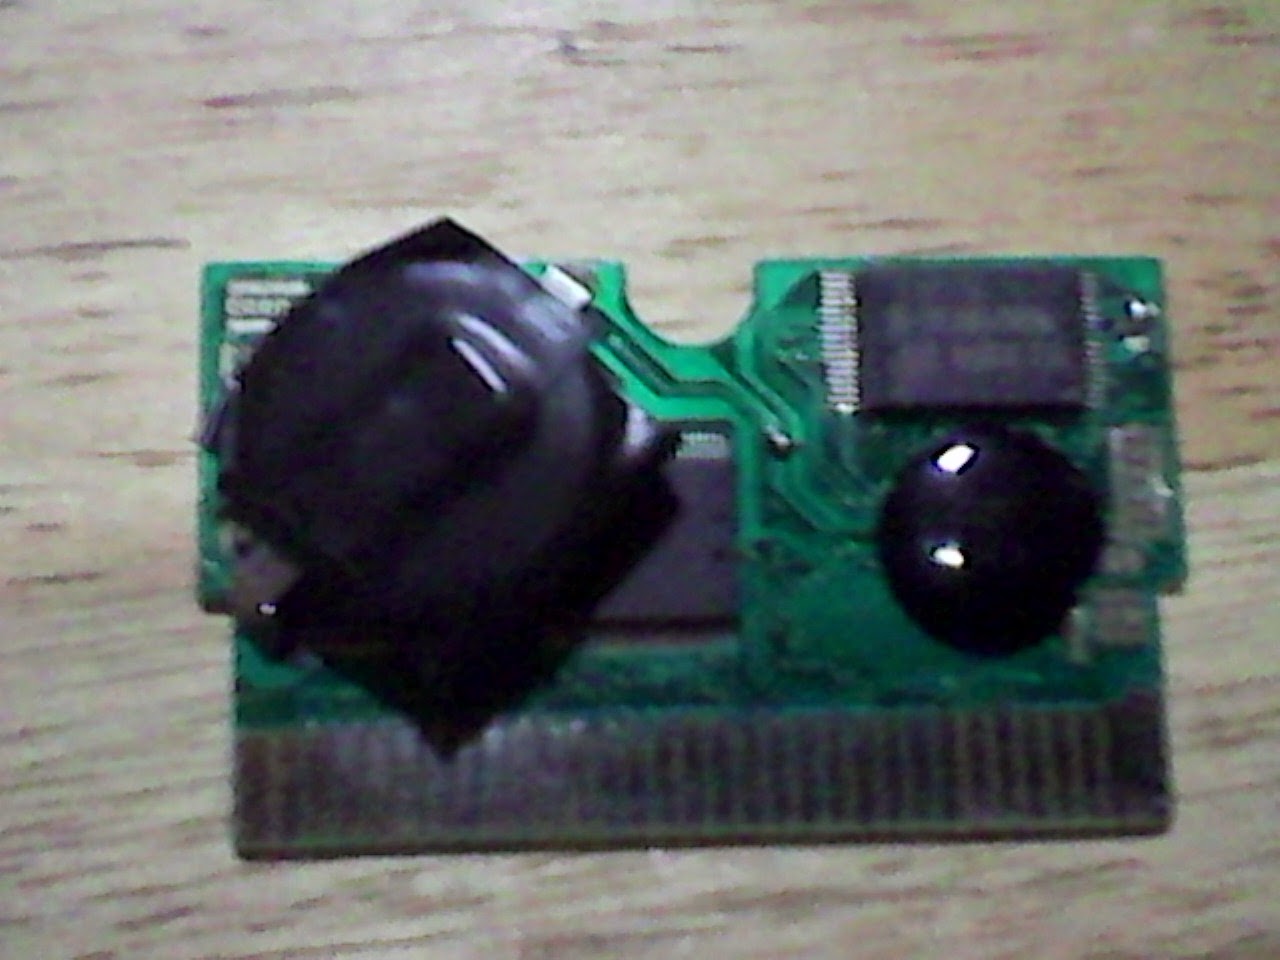
STEP THREE: Inspect the inside circuits of the cartridge. (Take note of the battery)
Clean the inside with a used toothbrush to remove the accumulated dirt and
dust.
 |
| The inside battery which is a CR 1616 and a CR 2025, side by side. |
STEP FOUR: Remove the battery from the metal prongs with a
flathead screwdriver. You got to be a little careful here, because the metal
prongs are somewhat soldered lightly to the battery. (Bravo Nintendo! For
making changing the battery on the cartridges a pain.) So, you have to use a
little bit of strength to pry out the battery from the prongs, while being
careful not to accidentally “stab” the circuits with the screwdriver. There are
prongs under and above the battery, which represents the positive and negative
charges respectively.
 |
| Removing the top prong (negative) |
 |
| Removing the bottom prong (positive) |
 |
| The battery is removed |
STEP FIVE: When the coin type battery is removed, prepare a
CR 2025 or CR 2016 coin type battery. (The CR 2025 is thicker and may not fit some cartridges. But, I manage to fit one in this guide) Then, cover the edges of
the new battery with a thin strip of electrical tape. This procedure prevents
short circuiting in the prongs and the battery.
 |
| A CR 2025 coin type battery with tape strip |
STEP SIX: Cut a separate strip of electrical tape with a
pair of scissors, and then place it under the metal prongs. (This will provide
insulation and a surface to stick the battery in order for it to stay in place
and not move around inside the cartridge.) Then place the battery in between
the metal prongs above the tape. Then, just tape the battery inside the prongs
nice and tight to make it stay in place and stable.


 |
| The battery is securely taped in place |
STEP SEVEN: Replace the cartridge circuit board inside the plastic
case, and then slide the front case in again. After that put the “Y” screw back
at the back of the cartridge with your trusty, “Tri-wing” screwdriver.
 |
| The circuit board is in place |
There you go! You now have a Game Boy Advance cartridge that
can save again. It took some work, but it’s extremely satisfying once you see
that the game saves once again, and it is your handiwork. Play on!

No comments:
Post a Comment